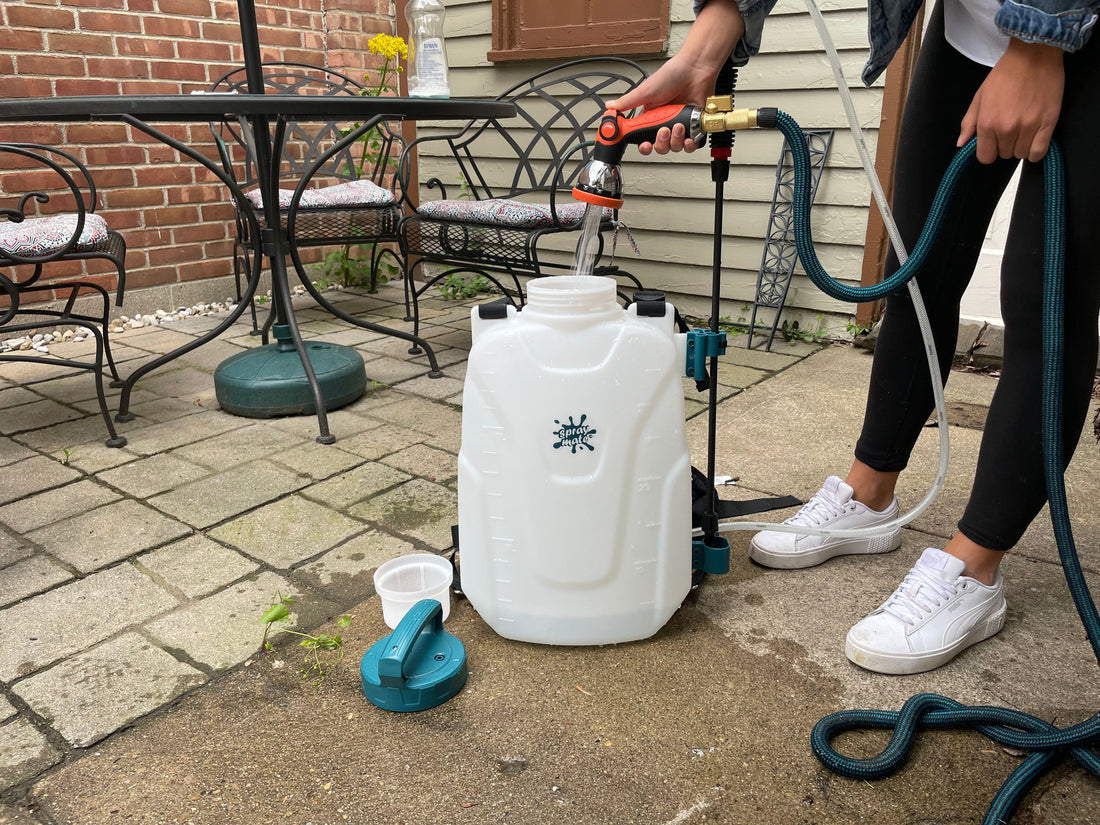
With spring in full-bloom you’re probably starting to prepare your garden for a season of planting. Prepping your garden for spring is no easy task, but using a garden sprayer makes it much simpler! Garden sprayers like SprayMate are perfect for applying a variety of pesticides and herbicides to your garden, such as weed killer and other chemicals. With the pull of a trigger, the weed killer is dispersed through a wand and spray nozzle, making the process of killing weeds quick and easy. To maintain the longevity of your garden sprayer, it’s important that you know how to clean your sprayer after each use. In this article, we’ll show you how to clean your garden sprayer in several simple steps!
Each SprayMate garden sprayer is made up of a tank to hold the liquid, an inlet filter to keep any debris from getting into the tank, a gear or diaphragm pump to pump the liquid out of the sprayer, as well as a hose, spray gun, wand, and nozzles for varying spray patterns. When cleaning your garden sprayer, you’ll want to get every part clean so that the chemicals don’t build up and cause problems with your sprayer, such as clogging or stiffening.
It’s important to note that some herbicides and pesticides are harsher than others, and as a result can be harder on your garden sprayer if left uncleaned. For example, RoundUp, a popular weed killer, tends to be a more potent chemical which is hard on the pump’s seal. As a result, you’ll want to make sure you really get your sprayer clean so it will last longer.
Daily Cleaning Process
Step 1: Empty the tank of remaining liquid.

During the spring and summer months, you’ll probably be using your garden sprayer more frequently. This actually makes the cleaning process easier. After spraying, simply empty the tank of any remaining liquid, disposing of the extra product per the manufacturer’s guidelines.
Step 2: Fill the tank with warm soapy water.

Then, fill the tank reservoir with warm, soapy water to rinse out any residual solution.
Step 3: Spray fresh water through sprayer for 3 to 5 minutes.

After rinsing the tank with soapy water. Fill the tank with freshwater. Spraying fresh water through the sprayer for 3 to 5 min will flush out the diaphragm pump, hose, and nozzle of any remaining chemical. This quick rinse should keep your sprayer functioning properly all season long!
End of Season Cleaning Process
However, when you’re done with your garden sprayer at the end of the season, you’ll want to give it a deep clean. This ensures that any chemical residue is completely flushed out, so it doesn’t sit in the sprayer for months. Follow the explanation below to clean and prep your sprayer for storage.
Step 1: Dispose of excess chemical per the manufacturer’s guidelines.
First, with your safety goggles and gloves on, dispose of the chemical per the manufacturer’s guidelines. Disposal instructions can vary depending on the chemical, so be sure to read the directions to make sure the chemical is properly discarded.
Step 2: Remove and soak the nozzle(s) and filter in warm water.

Next, you’ll want to remove the nozzle and inlet filter from your garden sprayer and soak them in warm water for several minutes.
Step 3: Soak tank in warm water for several minutes.
Now, fill up the tank reservoir with warm water and a few drops of soap, soaking the tank for several minutes to clear the tank of any chemical residue.

Step 4: Spray warm, soapy water through the sprayer several times.
Once the tank, nozzle, and inlet filter are done soaking, reattach the nozzle, put the inlet filter in place, and spray warm soapy water through the sprayer several times to flush out the chemical.
Step 5: Refill tank with clean water and spray for 3-5 minutes to flush out sprayer.

After spraying several times, pour the remaining soapy water out of the reservoir tank and refill the tank with clean water. Pump the clean water through the sprayer for 3-5 minutes to flush out the diaphragm pump, hose, and nozzle of any remaining soap residue.
Step 6: Dry and store sprayer

Finally, thoroughly dry the sprayer and clear the nozzle of any build up. A tip here is to disconnect the spray gun from the hose and allow the hose to hang down towards the ground, which helps the liquid drain from the hose to drain quickly. When it comes to storing your garden sprayer at the end of the season, find a dry, clean, and shaded place to protect it from extreme heat or frost, such as a garage or storage shed.
Now that you know how to properly clean your garden sprayer, you are ready to start spraying!